Conquering North Lomei Labyrinth in Zelda: Tears of the Kingdom
Discover the thrilling vertical exploration of Tears of the Kingdom's North Lomei Labyrinth, blending epic maze navigation with sky and depths adventures.
When I first stumbled upon the North Lomei Labyrinth in Tears of the Kingdom's Hebra Mountains, my heart raced with equal parts excitement and dread. 😅 That sprawling stone maze looked absolutely massive from the entrance, and the gloomy atmosphere gave me serious Ocarina of Time Shadow Temple vibes. But let me tell you, friends - conquering this labyrinth became one of my most satisfying gaming achievements this year! The journey has three epic phases: navigating the ground maze, soaring through sky islands, and descending into the terrifying Depths. Trust me, it's a wild ride that perfectly showcases why this game's vertical exploration is revolutionary. ❤️🔥
🔍 Finding Your Way In
Right at the entrance near Sahasra Slope, I almost got turned around by those gloomy patches - they drain your health like crazy! 😰 My lifesaver? Using Ascend in that little alcove near the campsite to pop right onto the walls. Genius move! Suddenly I was above the maze chaos like: 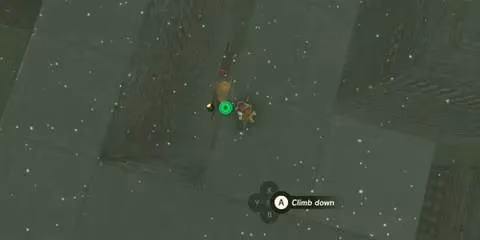 From up there, spotting the Mayaotaki Shrine was easy-peasy. That moment when the 'Northern Lomei Prophecy' quest triggered? Chills. Absolute chills.
✈️ Sky-High Shenanigans
This part had me sweating! Building that flying Zonai device from floating platforms near Pikida Stonegrove Skyview Tower was intense. Pro tip: hoard Crystallized Charges like a dragon - my first attempt failed embarrassingly when my battery died mid-air. 💀 The winning combo?
-
Stone platform base
-
Four fans angled downward
-
Steering stick center stage
-
Emergency battery backup
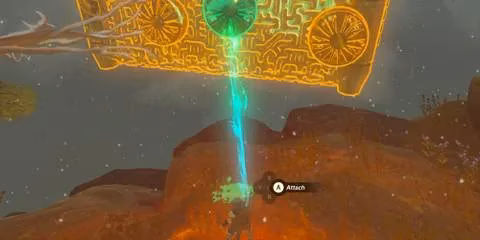 That glorious moment when you spot the cube structure through the clouds? Pure magic. Landing felt like docking a spaceship!
🧭 Terminal Hunting Made Easy
Okay, real talk - that sky maze navigation had me ready to throw my controller. 😤 Then I discovered the RIGHT-WALL METHOD: just hug that right wall like your life depends on it! The terminals appear like:
-
First terminal - corner spot after gliding past three brown squares
-
Second - left turn after rest platform
-
Third - down the stairs near the grid drop
-
Fourth - after redeploying past the grate
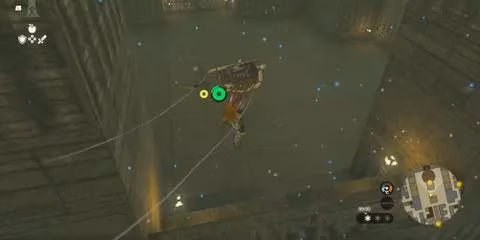 That final updraft to the stone ring? Chef's kiss!
⬇️ The Epic Descent
Jumping into the chasm was TERRIFYING but oh-so-rewarding. When you see those orange lights? Deploy immediately unless you fancy becoming a Hylian pancake! 😂 The Depths section had me scrambling for Brightbloom Seeds - seriously, pack 50+. That Flux Construct III boss fight in the dark? Heart-pounding! My strategy:
-
Arrow barrage at glowing cubes
-
Sprint when it reassembles
-
Melee combo when collapsed
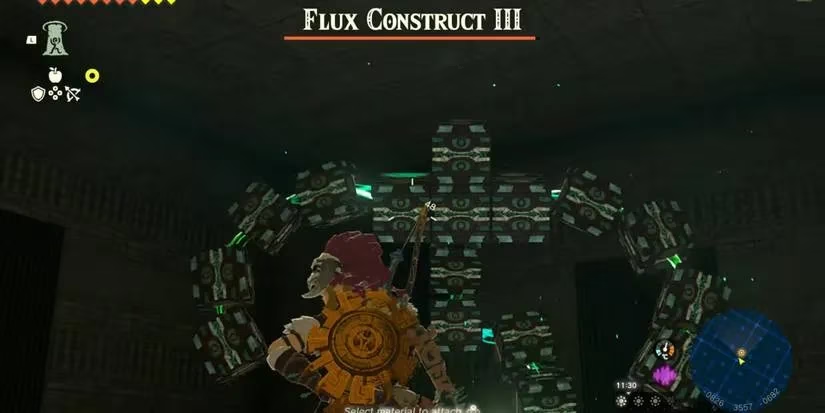 Seeing that glorious chest after victory? Worth every sweaty-palmed moment.
This labyrinth truly tested my creativity and courage - from Ascending smartly to engineering flying machines to conquering darkness. What's been your most intense Tears of the Kingdom challenge so far? 🤔