Hyrule's Mightiest: Ranking Tears of the Kingdom's Field Bosses
Tackle Tears of the Kingdom's field bosses, including Hinox and Frox, to gather crucial monster parts and Zonaite.
If you ask me, the absolute best part of exploring Hyrule in 2026 is still the sheer thrill of stumbling upon a field boss in Tears of the Kingdom. Don't get me wrong, Breath of the Wild was a masterpiece, but we all remember that nagging feeling of fighting the same enemies over and over, right? The sequel completely shattered that monotony. New bosses and expanded classics mean every corner of the map crackles with a unique threat, and I've spent countless hours tangling with every single one. Let me walk you through the most exhilarating, rewarding, and frankly, terrifying mini-bosses that still make my heart race.
Let's start with the basics, the creatures that greet you as you first begin your adventure.
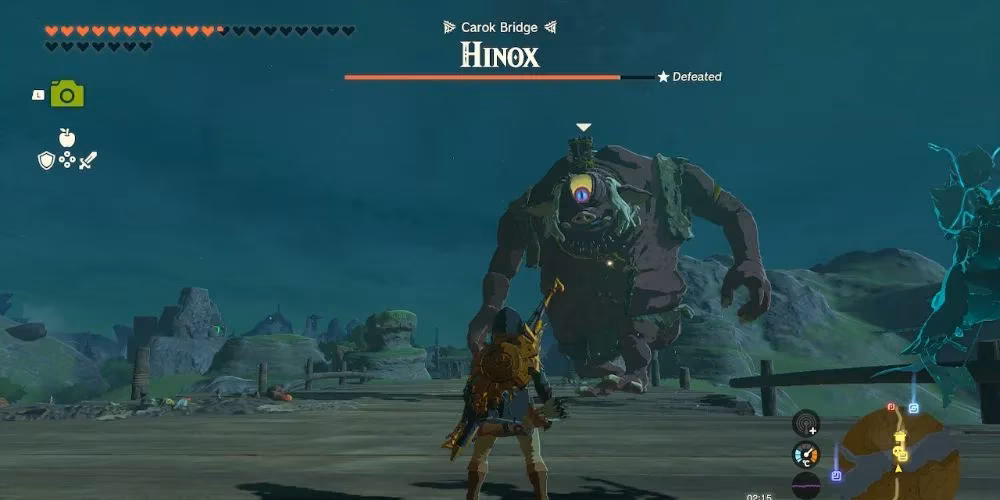
Think of the Hinox as your perfect early-game training dummy. You'll usually hear one long before you see it, thanks to its earth-shaking footsteps or ridiculously loud snores. These big guys are common, resourceful, and a little bit dopey. They'll rip entire trees from the ground and hurl them at you if you keep your distance. The trick is to not overthink it. Any damage will hurt them, but the giant eyeball is the jackpot. A single well-placed arrow will stun it, letting you go to town on its legs. If your aim is shaky, don't stress! Tossing a quick  Dazzlefruit or a
  Puffshroom at its face works just as well to blind it for a few critical seconds. They scale in color from red to blue to black, but the dance remains the same. In 2026, they remain the undisputed kings of farming for monster parts, especially since those parts are crucial for upgrading classic sets like the Soldier's Armor and the iconic
  Yiga Armor.
Now, dip into the Depths, and the familiar rhythm gets a nasty twist.
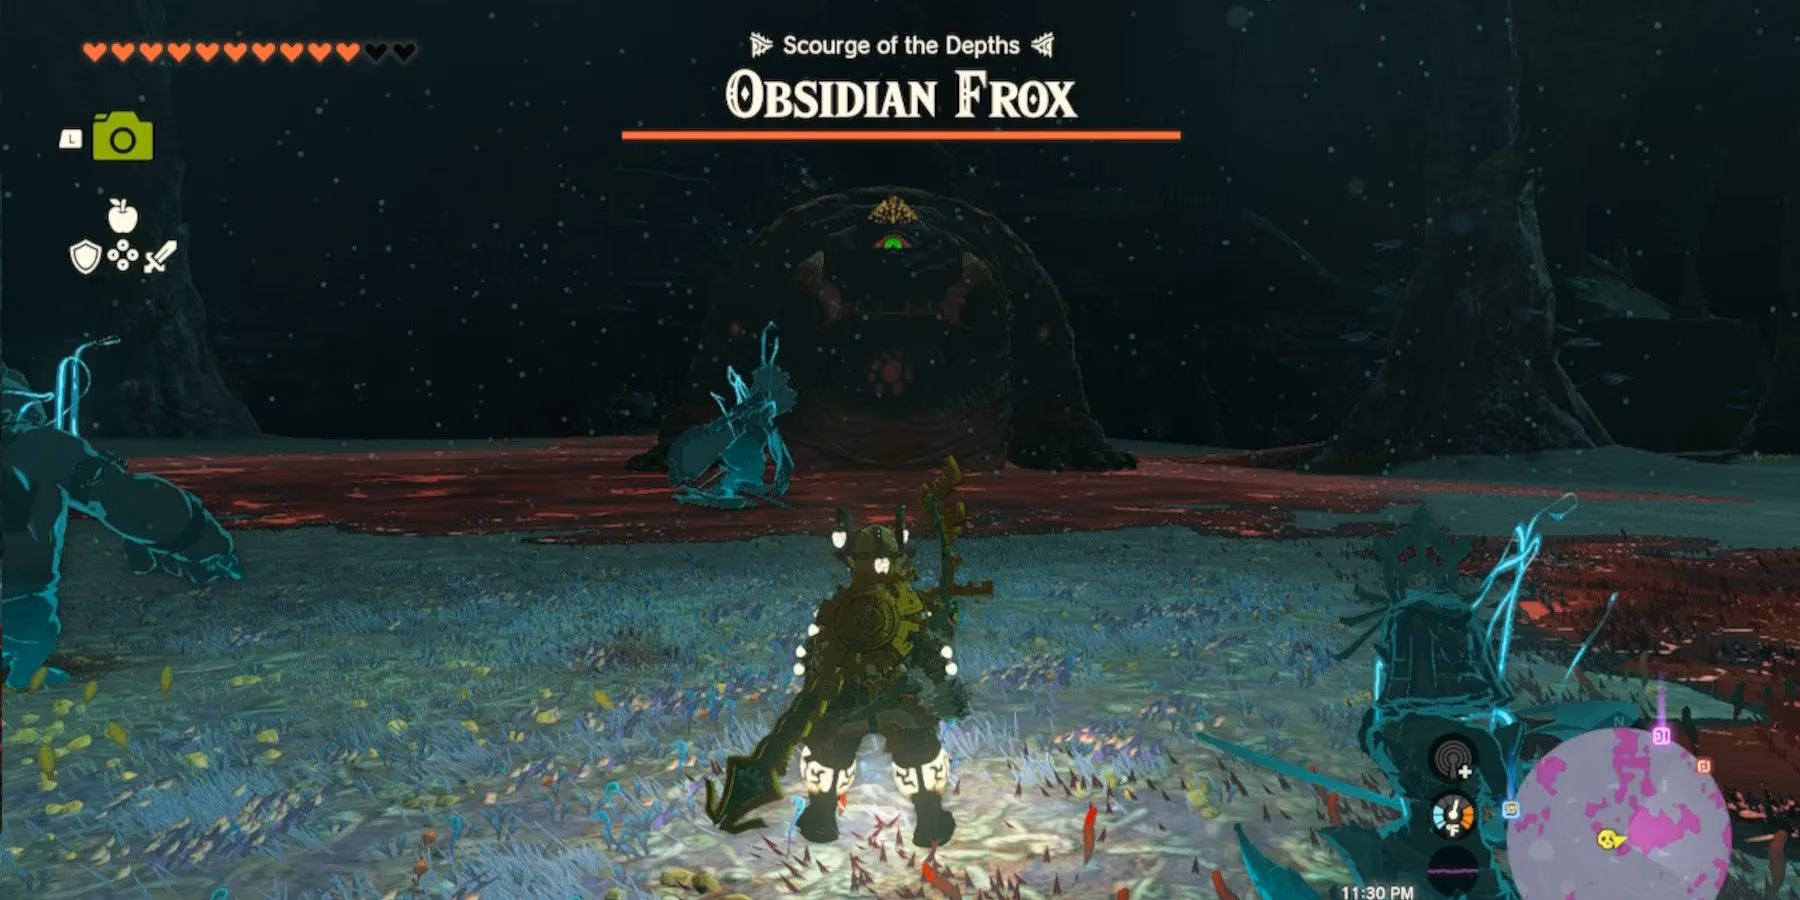
Meet the Frox, the Hinox's horrifying, amphibious cousin that I’ve come to love hunting. This thing is a giant, hopping maw that blends perfectly into the gloom. The core tactic is identical—shoot it in the eye with an arrow or a dazzlefruit to bring it down. But here’s where it gets interesting. Once it's down, you don't hack at its legs; you climb onto its back and smash the ore deposits, just like a Stone Talus. It's a beautiful, chaotic mix of two classic fights. Plus, a defeated Frox is a treasure chest of Zonai deposits, making it my absolute first stop when I'm low on Zonaite. Don't forget, the monster parts they drop are essential for upgrading the Depths Armor set, so you’ll be hunting these things for a while.
Speaking of terrifying combinations that make you re-evaluate your life choices, let’s talk about a true battlefield innovator.
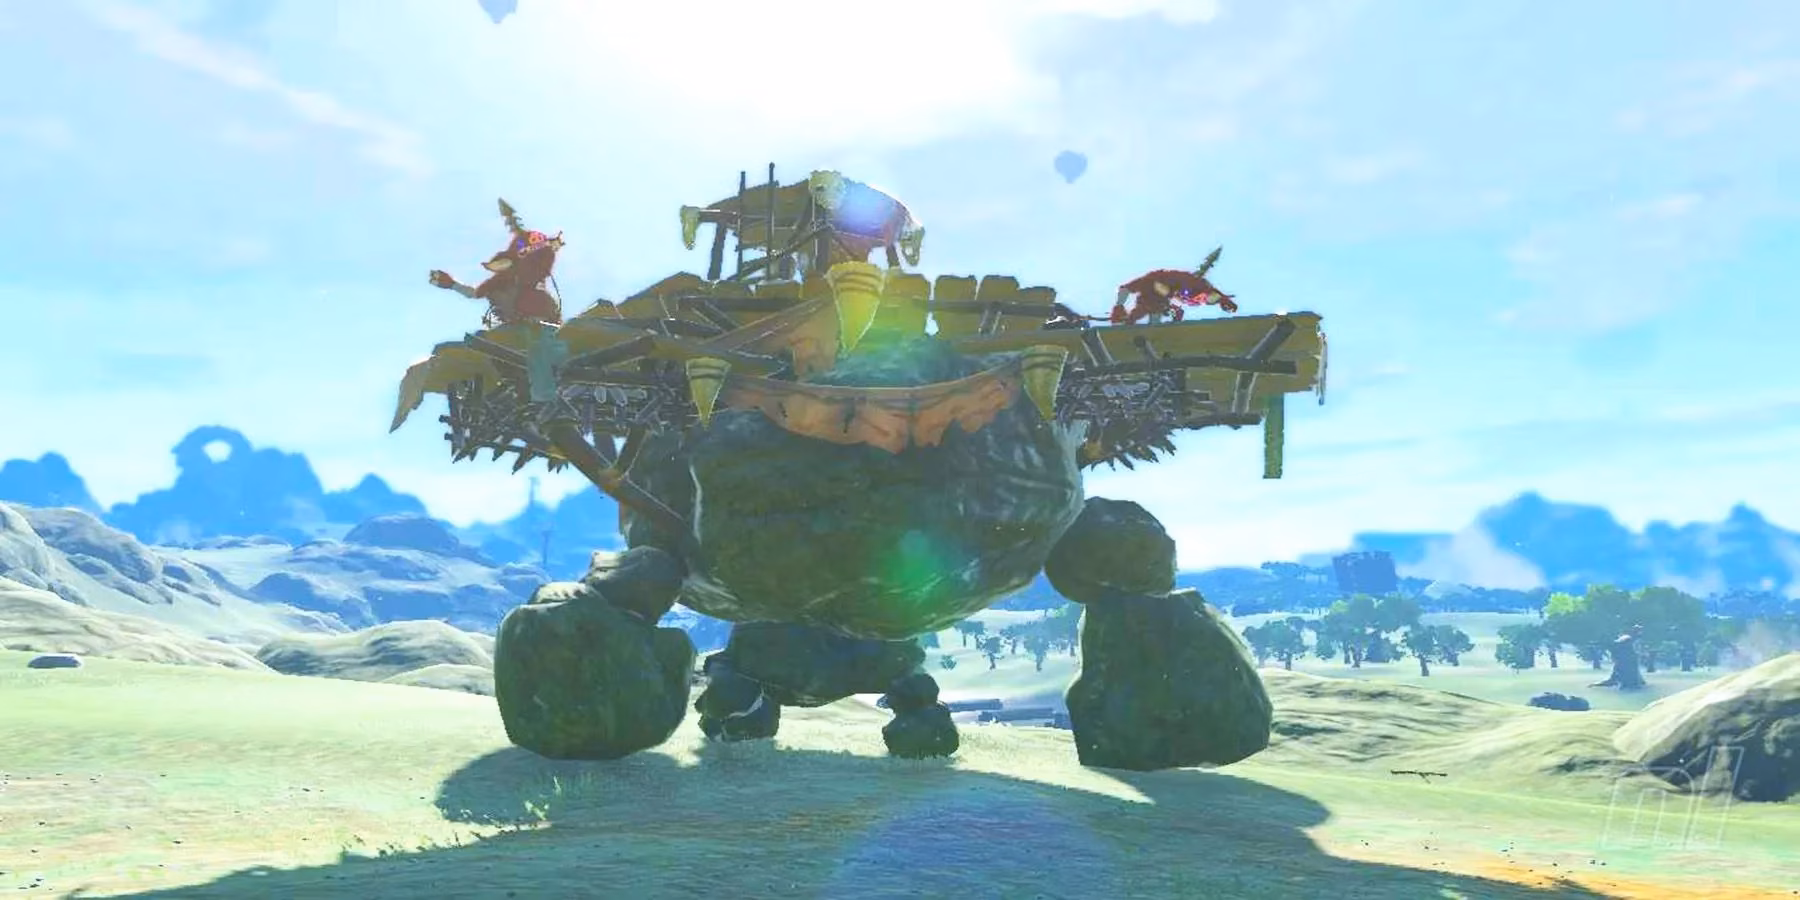
The Battle Talus is a diabolical invention. From a distance, it looks like a standard, maybe even easy, monster camp. A few Bokoblins milling around a wooden fort. Sweet, an easy clear, you think. Then the ground shudders, the whole camp rises up on a pair of stone legs, and you realize you’ve made a terrible mistake. My go-to strategy is brutally efficient: stay back and use precision arrows to snipe the Bokoblins, especially the ranged ones, before they can turn you into a pincushion. Once they're gone, the platform will lower, letting you Ascend through it or hop on. Clear the stragglers, then it's business as usual—hack away at the ore deposit on the Talus's head. It’s a simple concept executed so well that it forces you to rethink an enemy you've fought a hundred times before.
For something completely different, we need to leave the surface entirely.
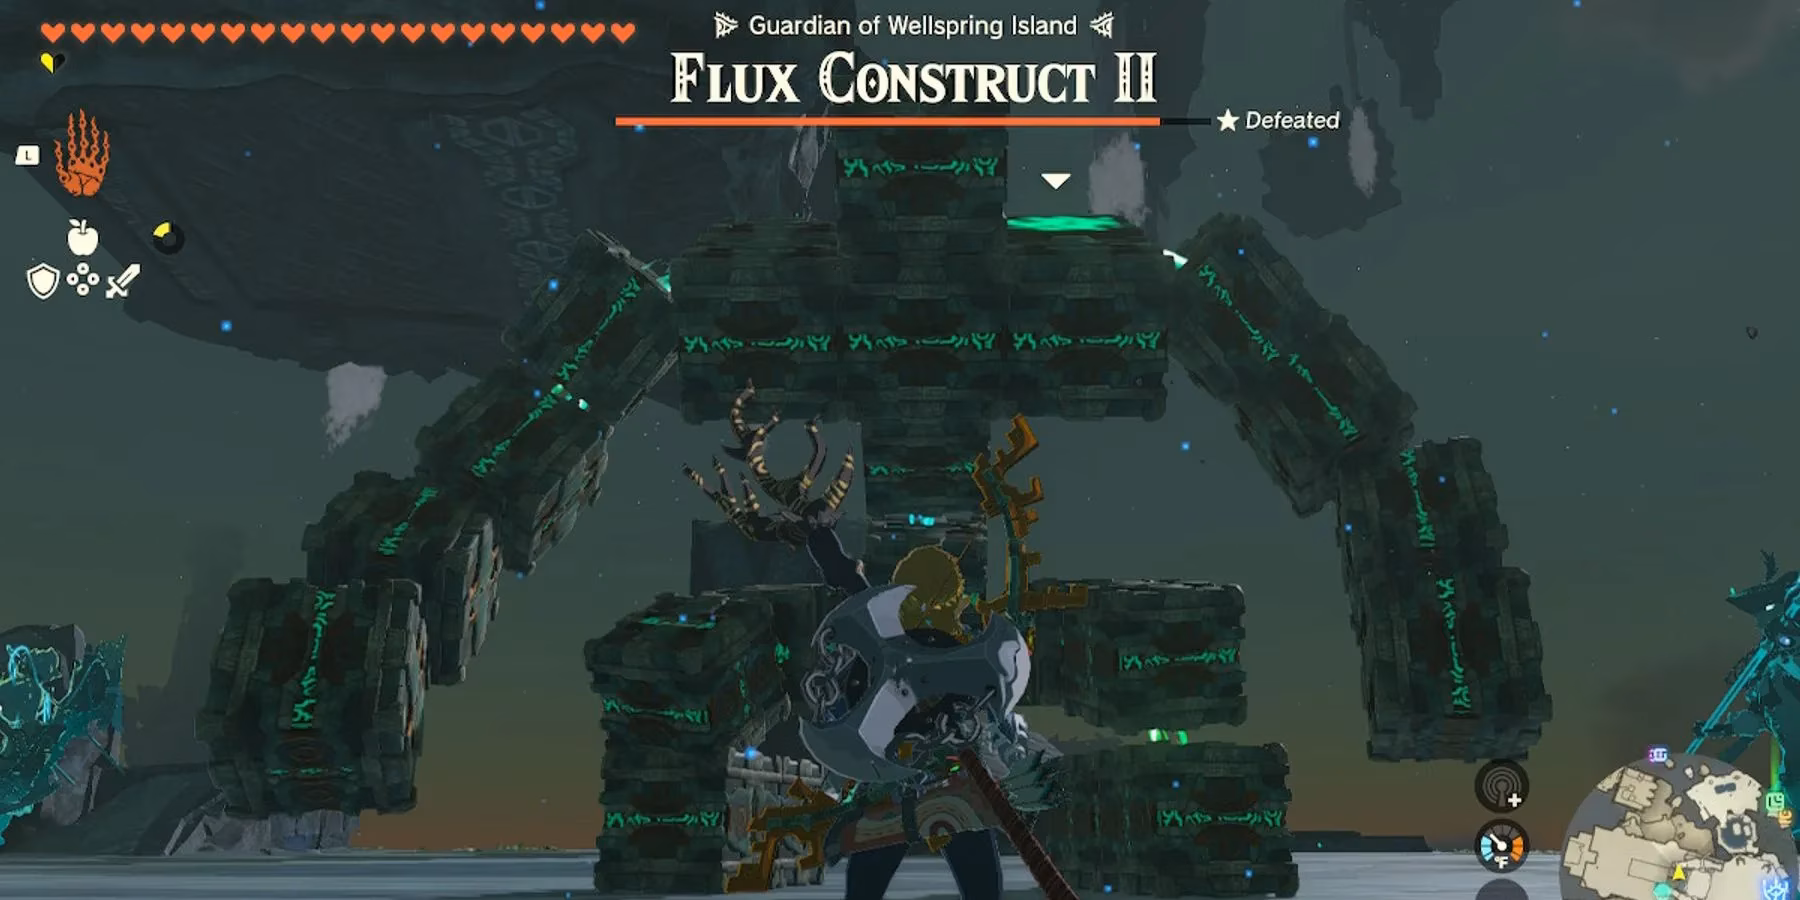
Found only in the Sky and the Depths, Flux Constructs are living puzzles that punch hard. A Level 1 construct might lull you into a false sense of security, but I promise the difficulty spikes fast. The core gimmick is that you can only damage the glowing, blocky core. Slashing at its arm or leg does absolutely nothing. You need to use Ultrahand to tear its body apart and yank the core out, or shoot it with arrows when it's exposed during certain attacks. Each tier has a different attack pattern and form it can shape-shift into, which demands your full attention. Fighting a Flux Construct is less of a brawl and more of a high-speed engineering challenge, and I adore it for that.
But you want true, unpredictable terror? Nothing beats the spawn conditions of this nightmare.
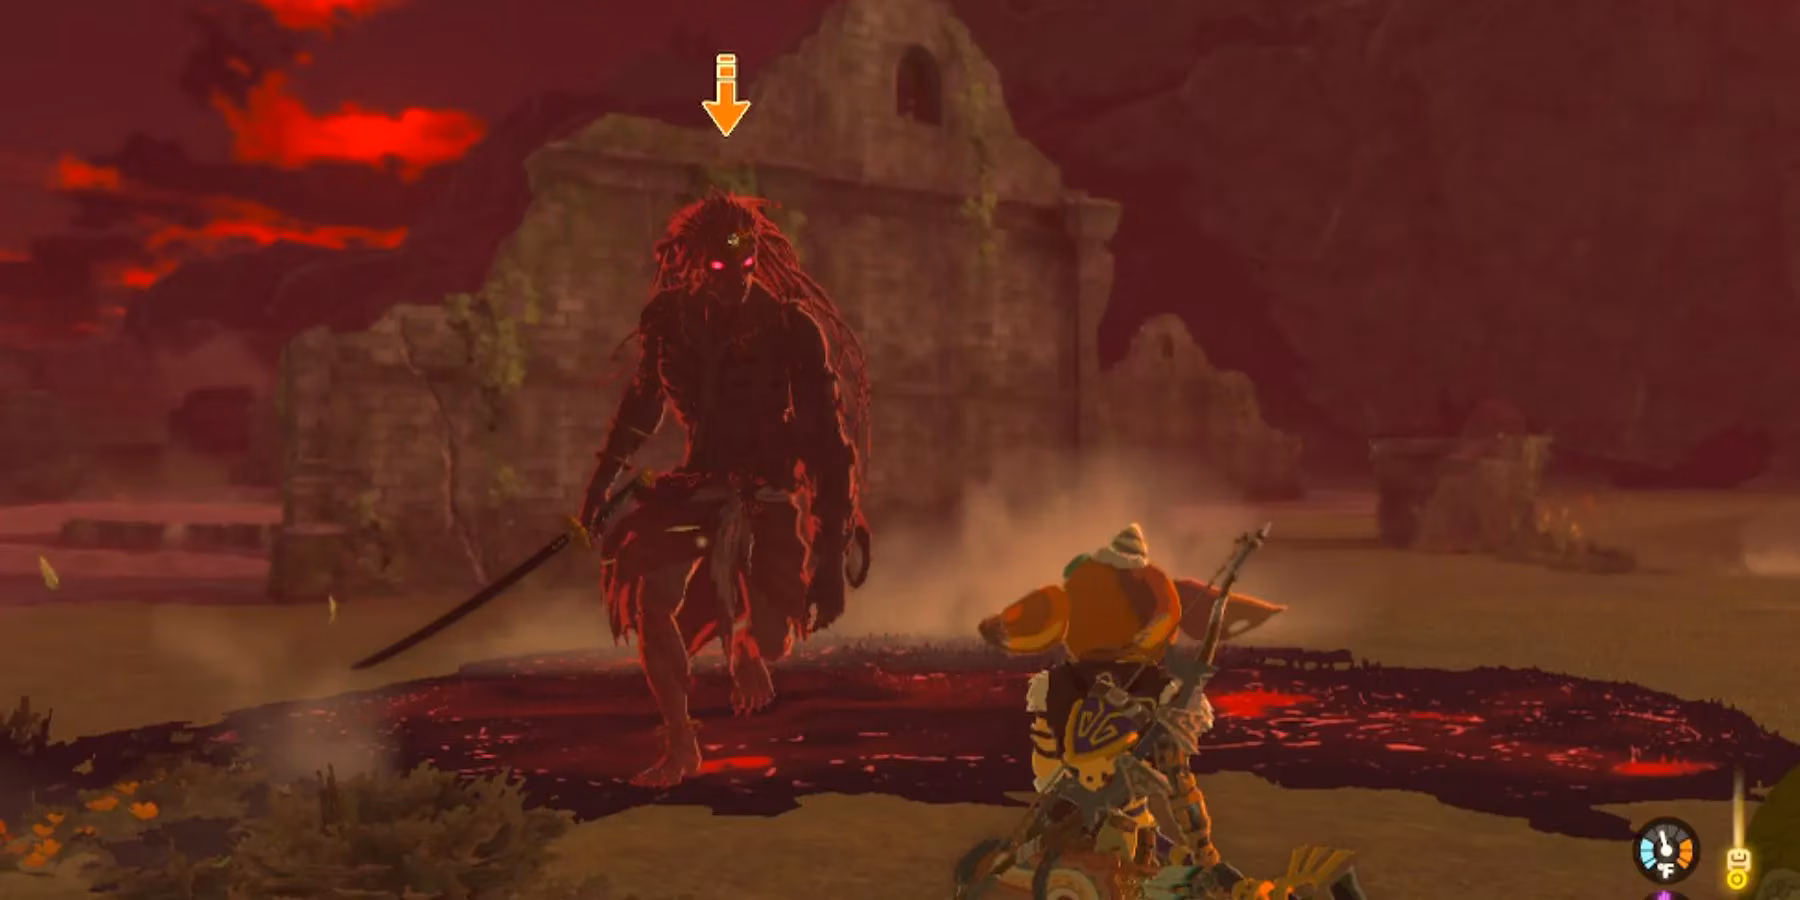
The first time Gloom Hands catch you, panic sets in. If you survive that, Phantom Ganon spawns, and the panic doubles. Its unpredictable appearance makes it a true field boss in every sense. This shadowy demon deals Gloom damage on every hit, meaning your maximum hearts are temporarily broken and put on the line. It can wield a  Gloom Club, a spear, or a sword, which changes its attack pattern, and it will fire arrows if you try to run. Add in the Gloom pools spreading across the floor and its ability to teleport right next to you, and you have a fight where constant movement is key. Your best bet is to learn its combos and nail those perfect dodges for a Flurry Rush. The reward is its incredibly powerful but cursed Gloom weapon—it hits like a truck, but it'll drain your health while you hold it. A fantastic risk-reward proposition.
And now, the undisputed rulers of Hyrule’s skies and my personal favorite challenge.
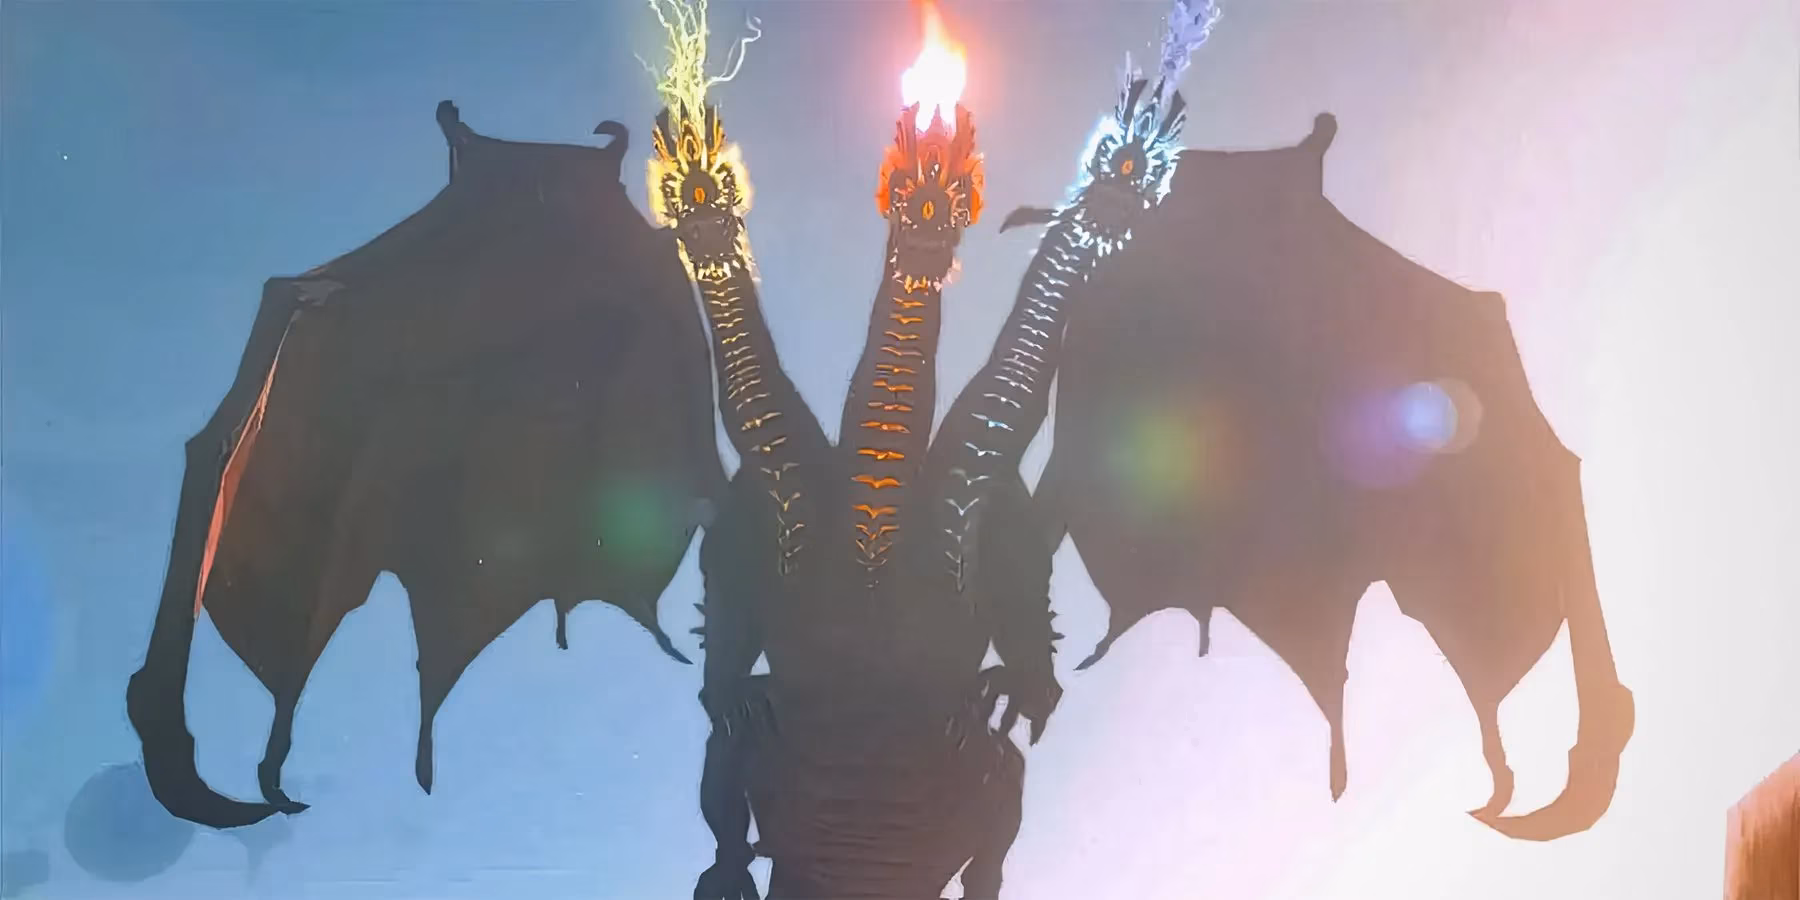
The Gleeok. Even just seeing a three-headed dragon on a distant bridge in 2026 is enough to make me check my inventory. Taking one on requires real preparation. You absolutely need meals with elemental resistance or specific armor. The  Lightning Helm, for instance, completely trivializes the Thunder Gleeok's most devastating attacks. The general strategy is brilliantly chaotic: use arrows fused with Keese eyeballs that oppose the Gleeok's element to knock out all three heads as fast as possible. When it crashes to the ground, unleash your highest-damage weapon before it recovers. The fight then typically transitions into an aerial phase, where the Gleeok takes flight and unleashes hell. Strangely, I find this phase easier—drawing your bow mid-air slows time, allowing you to land precise shots. And the King Gleeok? It's the ultimate test, combining all three elements. My best tip is to end the fight before it even begins. Fuse a high-power material to a multi-shot bow in mid-air and rain down a devastating opening salvo that can sometimes deplete a huge chunk of its health instantly. These fights aren't just battles; they're epic, screen-filling events that define the genius of field boss design.